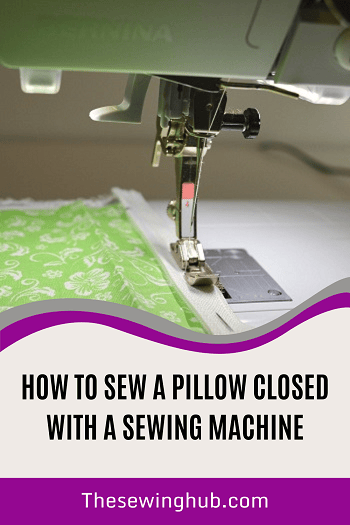
 Sewing a pillow is not as easy as it seems. There are certain techniques through which a pillow can be sewed closed with a sewing machine. This process of sewing a pillow can be done in some steps.
You are pillow fighting with your partner and boom all your pillows are no more in a condition to be used. Don’t worry! A simple way to sew a pillow with a sewing machine is here.
Here are the easy steps to sew a pillow that is closed with a sewing machine.
Collect The Needed Material
First of all, you need to collect all the materials that are required for this process.
- Fabric
- Sewing machine
- Thread and needle
- Scissor and pillow inserts
- Dressmakers pins and measuring tape
Cutting Of Fabric
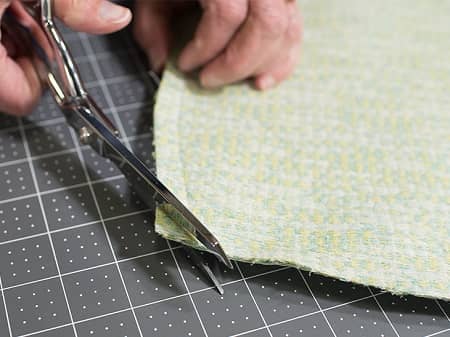
After collecting all the material that is required, the cutting of the fabric is the next step. Took fabric and place it on the table. Cut the fabric into two equal squares.
You can use any material for fabric, even some leftovers of clothes can do the work. Furthermore, you can also change the shape of the pillow by cutting the fabric into different shapes, but the easy one is a square with upright edges.
Measuring
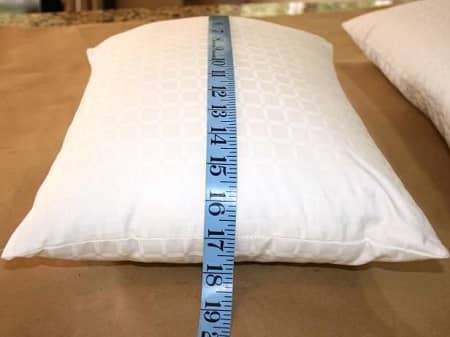
After cutting, measuring is done. It is a significant step and needs concentration. Focus and measure precisely because the wrong measurement can lead to a bad shape and an uncomfortable pillow.
Took a measuring tape for measuring the size of the pieces you cut.
Pinning
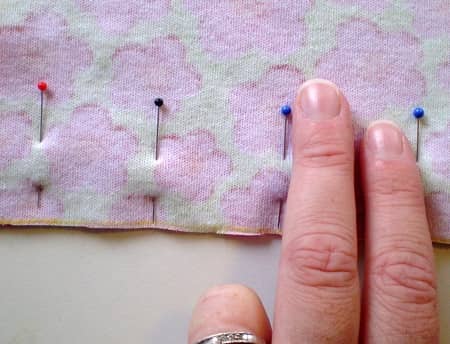
Pin the edges of your pillow and trim.
Pinning and trimming are significant because of the following reasons.
- It is easy and avoids wangling.
- It saves a lot of time and complication.
- Better for the pioneers
Lay the fabric down with its inner sides being at out and adjust it by combining both pieces of the fabric.
Pin all the edges, readjust your fabric if needed, and pin it wisely.
Place the pin at least 2 inches away from the edge so you can easily sew it with the sewing machine.
To avoid wangling, pin after every inch.
After pinning, use a pinch and pull technique with a needle and thread that is used widely across the world.
PINCH the corner. It will make a fold. Then PULL up to the edge of the woven band. The fold you just made should be at the outer edge, and on the corner of the edge, you just pinned.
Once you are done with all the sides of the pillow, remove the other pins.
You can also do this without pining if you are an expert or professional who doesn’t require pinning for precise sewing.
Sewing
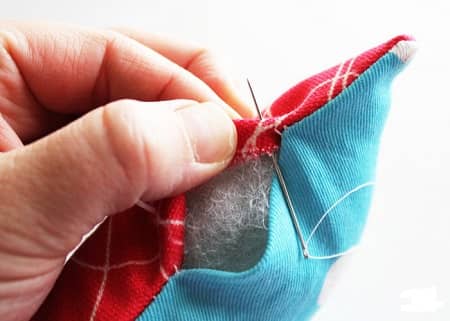
It is one of the main and significant steps of the whole process.
Sew the edges of your pillow with a color similar to the fabric. A straight stitch with the sewing machine can do its work, but to enhance the beauty of your pillow, you can also you a zigzag stitch.
Sew along the inner edges with the pins that you pin on the edge of your pillow. Remember to treat all the straight edges as a straight line while sewing. Furthermore, it will help to sew straight.
Leaving a small spot
After sewing the pillow from three sides, the fourth one is treated differently. As you know, your pillow requires inserts. So, to fulfill this requirement, you have to leave a small spot on the fourth side. This vacant spot is used while stuffing your pillow.
After leaving a spot, flip your pillow inside out in such a way that your pillow’s front is facing outside.
Stuff your pillow
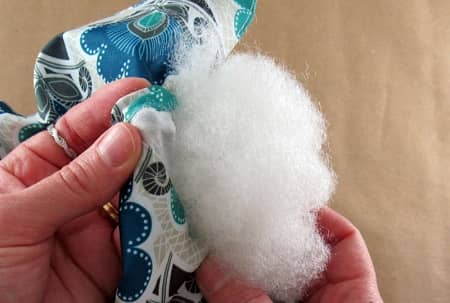
Stuffing a pillow is easy and a whole load of fun. It also requires some steps as given below.
- Choose the material you want to insert into your pillow.
- Gather the material
- With nice hands, place the material inside the belly of your pillow through that vacant spot.
- Insert the material unless your pillow is full.
- Remember to press the material from outside.
Final sewing
The final sewing of the spot we left is the last step of this process. This stitching is done through the needle and thread that we used in the fourth step.
Do the inside sewing with the needle.
The procedure of inside sewing
- Take a needle
- Cross a thread from the small hole at the bottom of the needle. Use thread according to use. For this purpose, some inches of thread would be enough.
- Now, join the two ends of the thread and tie a knot.
- Arrange your pillow, combine both sides of the pillow that is not stitched while inserting an inch from both borders inwardly and join.
- Use needle and cress cross it from the external point to the point till the sewing of the sewing machine comes.
- In the end, trim the edges if needed.
Your all-new pillow with sewing of a sewing machine is ready to be yours.
Note
You can use different shapes of the pillow, but with different shapes, the sewing would be difficult. Additionally, you can use some t-shirt or any other rough fabric material for the cover of the pillow. Different beautiful patterns and designs of the fabric make a pillow more elegant, graceful, and classy.
Use a fine needle and also use a thread of similar color with fabric. Choosing a thread of other colors will look odd. It is totally up to your taste.
The material you feed in your pillow should be soft, as it is a matter of your comfort and health. Mostly cotton, soft cotton, clothes, and nylon with many other materials are used in the pillow as inserts.
Conclusion
To do something is an art, but when you do it nicely and know its importance and significance, it becomes a skill. The whole article revolves around sewing the pillow with a closed sewing machine.
In short, take a fabric cut it equally, trim its end, and sew it. Leave a spot to insert material. Insert the material and sew the remaining small spot with needle and thread.