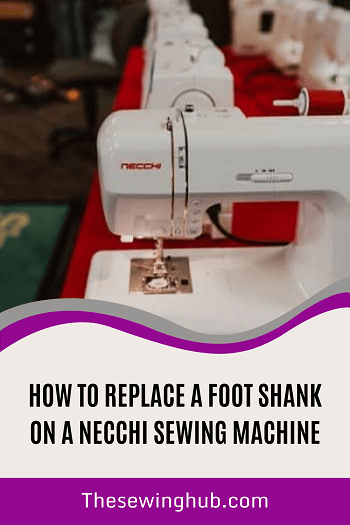
 Among all the parts of a sewing machine, the foot shank or presser foot holder is one. Foot shanks in the Necchi sewing machine are detailed in comparison to other sewing machine shanks.
Here, we will guide you step-by-step to replace a shank in Necchi. Before you start with the steps, we need to address some basic ideas. Let’s go!
What Is A Foot Shank?
A foot shank is a small intricate tool that connects a presser foot to the presser foot bar.
If you look around the presser foot area, you will see another bar beside the needle bar. That’s the presser foot bar, and a screw connects the presser foot holder or foot shank with the presser foot bar.
A foot shank helps the presser foot to be placed on the fabric/material evenly. Also, they help you to stitch straight and flawless.
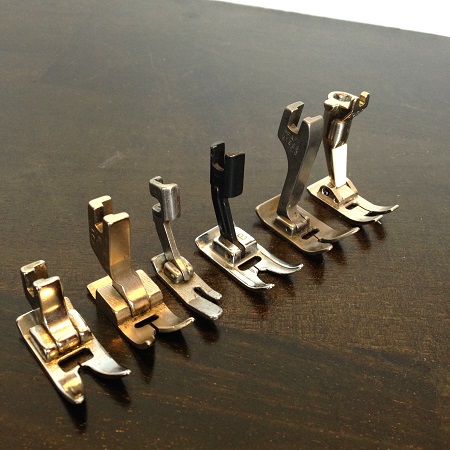
And, on the presser foot holder, you set the presser foot. As we know, there are different types of presser feet. You will have to change the foot shank according to the presser foot. Then again, there are two types of foot shanks depending on height, such as low and high foot shanks. The low foot shank is smaller in height than the higher foot shank.
What Do I Need To Replace A Foot Shank?
First, you need to collect a foot shank from the store. You will find a variety of foot shanks that goes with different presser feet. Also, shanks can be machine-specific too. Make sure to buy one that fits your sewing machine. If you are confused, you can always refer to the user’s manual.
Next, you will need a small screwdriver. Sewing machines come with a special screwdriver. These screwdrivers are small in size, so you can quickly put one under the needle area and work on a screw. If you have one already, that’s great. If you don’t, you can buy one while collecting a foot shank from the store.
Also, you can utilize a regular screwdriver, too, that we use at home. Ensure the driver’s head fits the notch of the screw that connects a foot shanks to the presser foot bar.
Replacing A Foot Shank On A Necchi
Once you have the necessary tools to do this activity, you can replace the current shank.
#Step 1
First, set a good light on the presser foot area. And, take the needle to the highest position and turn on the machine.
#Step 2
Next, disengage the presser foot from the presser foot holder. Then, take the screwdriver and loosen it carefully. After you take out the screw, put it aside in a safe place. As they are small in size, people can lose them in the process.
#Step 3
You need to pull the holder down slightly and then pull it on by the right-hand side. The foot shank should be out of the holder by now.
#Step 4
Now, take the new foot shank you have collected from the store. Set it to the presser foot bar just the way you took it out in the previous step. After that, you take the screw and put it back to connect the presser foot holder and foot shank.
#Step 5
Finally, you set a presser foot on the foot shank and start your targeted project.
Tips And Cautions
- Always make sure you have tightened the presser foot holder screw properly.
- Lose setting can cause the holder to drop, and the needle might strike it. The needle can break this way.
- When you don’t tighten a foot shank correctly, the presser foot doesn’t sit on fabrics/ materials plain.
- If the presser doesn’t sit plain, the machine won’t be making nice stitches. Also, the stitch line won’t be going straight.
Different Kinds Of Foot Shanks

We already mentioned foot shanks vary depending on the presser foot setting. We need to talk about the pressure to under the use of foot shank properly.
There are mainly three kinds of presser feet: snap-on, screw-on, and clip-on presser foot. You can replace the foot separately on the snap-on pressure foot only. For the other two presser feet, the shanks and feet come together.
On The Final Note
Necchi sewing machine contains a snap-on presser foot. As a result, you need to buy a shank to replace and add the foot to use the machine. We hope you have built a clear understanding of foot shanks and how to replace them on a Necchi sewing machine.